
FTMS Rowing: The Key Technique to Protect Your Back
Learn to use the FTMS rowing machine and avoid low back pain. Expert physical therapy for your technique.
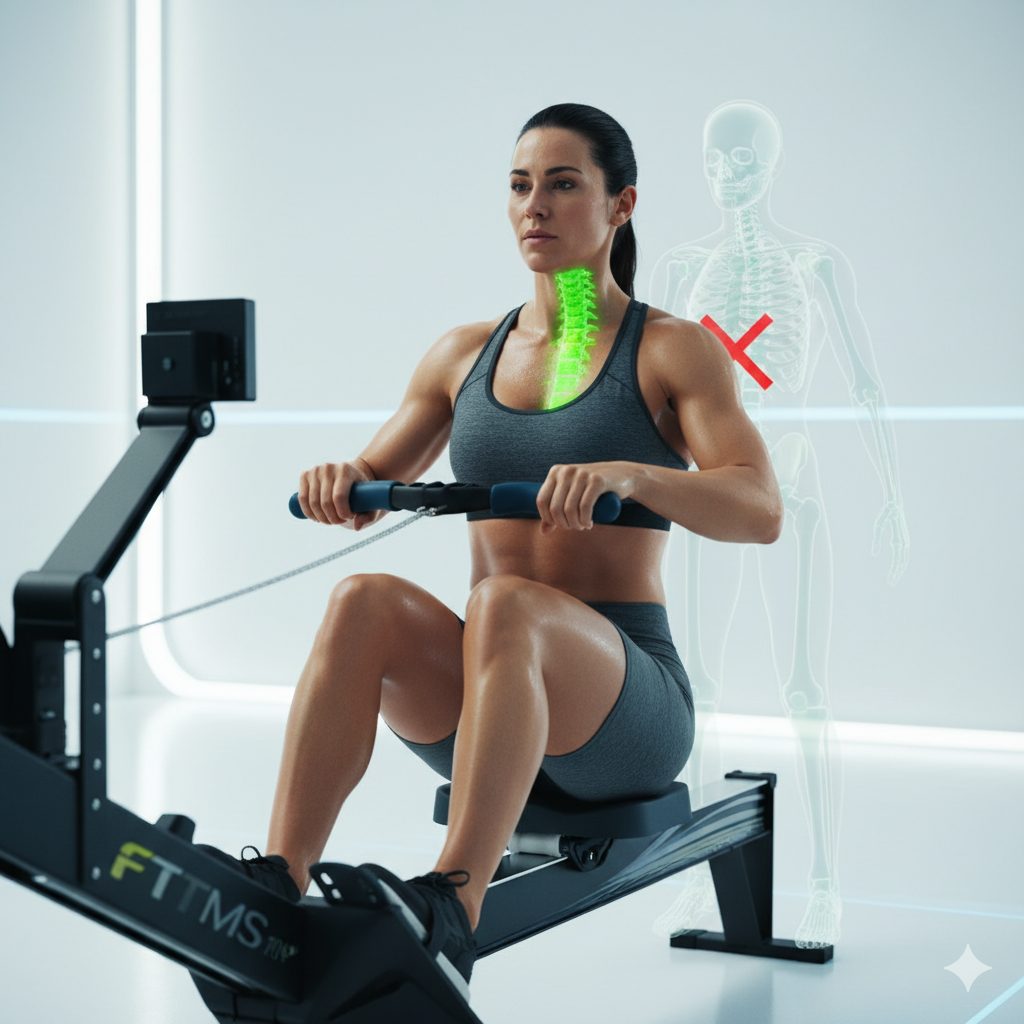
Master the Rowing Machine (FTMS): The Secret Technique that Protects Your Lower Back
The rowing machine (FTMS) is one of the most efficient tools available, capable of activating almost 85% of your muscles. It is an exceptional low-impact workout that combines strength and cardio.
But here is the truth many people ignore: the complexity of its technique makes it a frequent cause of low back pain and shoulder injuries.
At Fisioterapia en Colombia, the most common rowing injury we see is caused by one fundamental mistake: not using the legs as the engine. If you row mainly with your arms and your back, you are inviting injury.
The Golden Rule of Rowing: The 60/20/20 Drive
For safe, powerful rowing, force should be distributed this way during the Drive phase (when you move away from the flywheel):
- 60% Legs: Your main source of power. Push hard with your feet, as if you were doing a leg press.
- 20% Torso (Core): Lean slightly backward (about 15-20 degrees), keeping your abdomen braced to protect your spine.
- 20% Arms: Only at the end, pull the handle toward your abdomen.
Breaking Down the Critical Phases for Injury-Free Rowing
Your spine is most vulnerable at the beginning and end of each stroke. Mastering these four phases is the difference between progress and pain:
1. The Starting Position (The "Catch")
- Straight Back, Not Rounded: This is the most important point. Your spine should be in a neutral position, slightly tilted forward from the hips (think "11 o'clock"). If you feel your tailbone tucking under and your lower back rounding, you are putting your intervertebral disc at risk.
- Alignment: Relaxed shoulders and straight wrists, as if you were holding a glass of water in each hand.
2. The Drive
The sequence never changes: Legs, Torso, Arms.
- Step 1 (Power): Push with your legs until they are almost fully extended.
- Step 2 (Stability): Lean your torso backward.
- Step 3 (Contact): Pull the handle to your body.
3. The Recovery (The Return)
This is where most mistakes happen, out of impatience. The sequence reverses: Arms, Torso, Legs.
- Arms First: Extend your arms to move the handle away from your body before moving your legs.
- Torso Next: Lean your torso forward again, keeping your back straight.
- Legs Last: Only when your hands have passed your knees should you let them bend and slide forward. Never bend your knees before straightening your arms!
Beyond Technique: The Role of the Physical Therapist
Can't keep your back straight at the catch? Does your wrist hurt when you pull? Technique is essential, but the root of the problem is often an underlying physical imbalance that physical therapy can correct:
- Limited Hip Mobility: If your hip flexors and hamstrings are tight, your back will automatically round in the starting position to compensate.
- Weak Core: Unstable abdominal and lumbar muscles are unable to protect your spine during the Drive phase.
At Fisioterapia en Colombia, we not only correct your rowing technique on the spot, we also give you the specific strength and mobility exercises your body needs to sustain perfect technique naturally. We help you identify the root cause of your pain.
Your rowing machine is a powerful tool. Stop using it wrong and start training safely.
👉 It is time to train with confidence. Book an assessment appointment at Fisioterapia en Colombia today and make sure every stroke brings you closer to your goals without a setback from injury.
Do these symptoms sound familiar? Book your evaluation.
Book via WhatsApp